Note: We also have a series of short videos that will familiarize you with Pixie's five main features: Work, Email, Clients, Team, and Settings.
When you first open Pixie, you’re brought to the Work section, open to the To do tab which is your list of open tasks. You can always return to this view by clicking the Pixie logo at the top left.
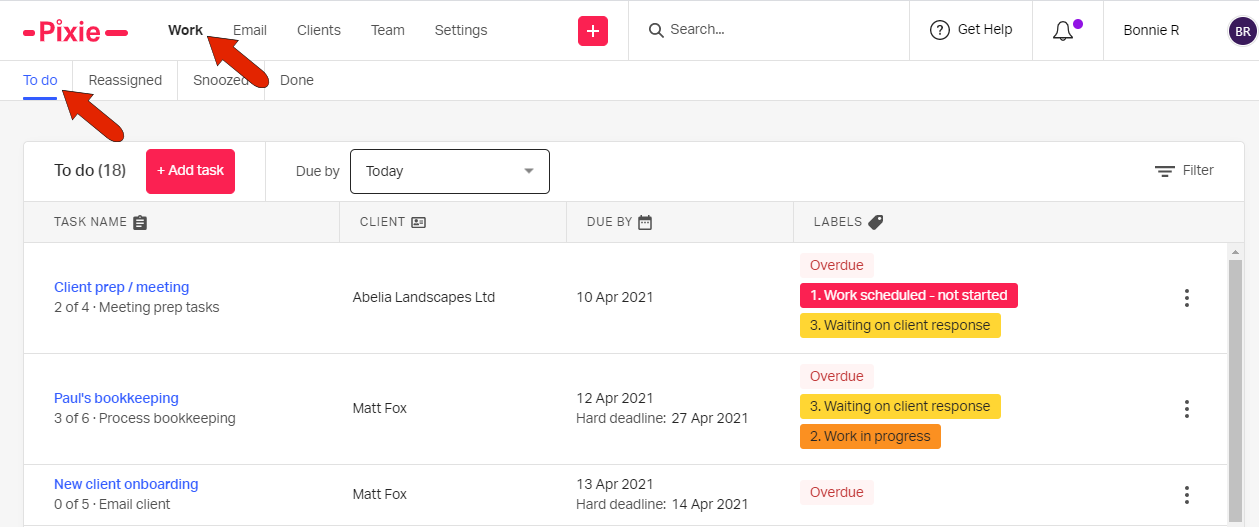
Each task is listed with its number of completed subtasks, client, and due date. Assigning labels to tasks is a great way to visually keep track of task status.
The other sections of the Pixie UI are Email, Clients, Tasks, and Settings, each of which has their own collection of articles.
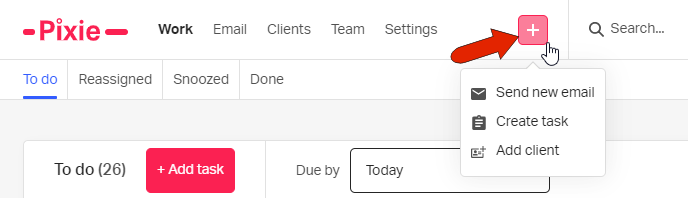
From any Pixie screen, clicking the Add icon displays opens for these common tasks: sending an email, creating a new task, and adding a client.
The search bar along the top can be used to quickly locate a client, or a client contact whose email is listed in the system.

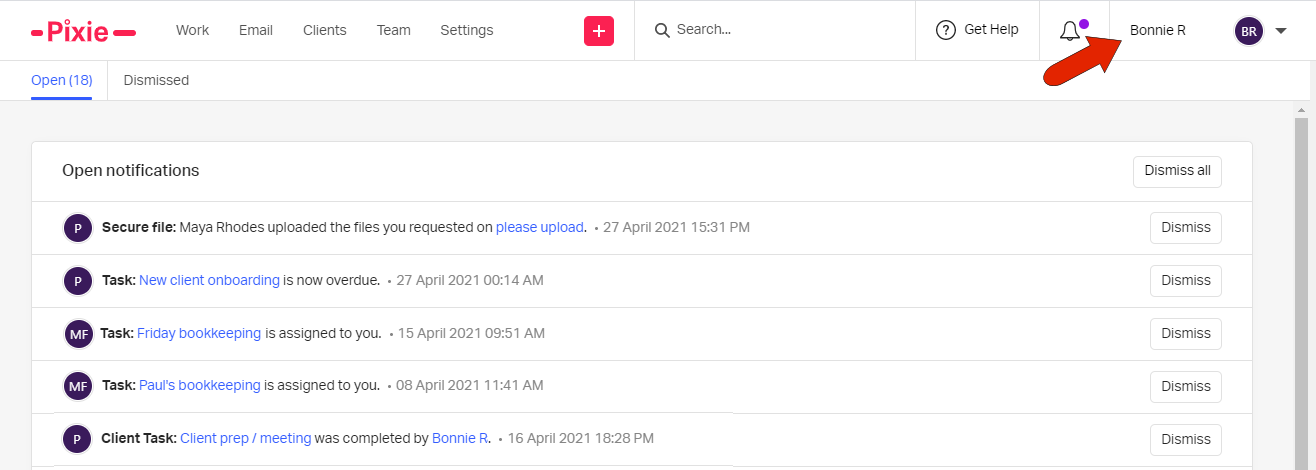
The Bell icon opens your list of task notifications. These include file uploads, overdue and completed tasks, as well as tasks reassigned to you. You can dismiss individual notifications or dismiss them all at once.
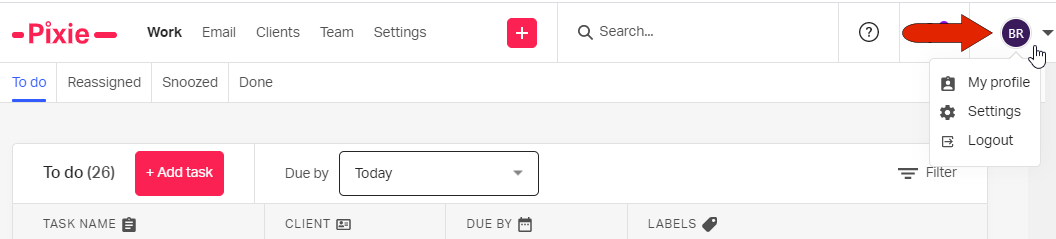
Clicking your initials at the top right opens a menu where you can access your account settings, or log out.
See also:
