Note: Our Feature Overview page has a comprehensive video that will familiarize you with Pixie's Email feature.
There are several ways to send emails to your clients.
Automated and manual emails can be included as subtasks within a task.
For a one-time email and file exchange within a task, that includes chat functionality, you can create a client task.
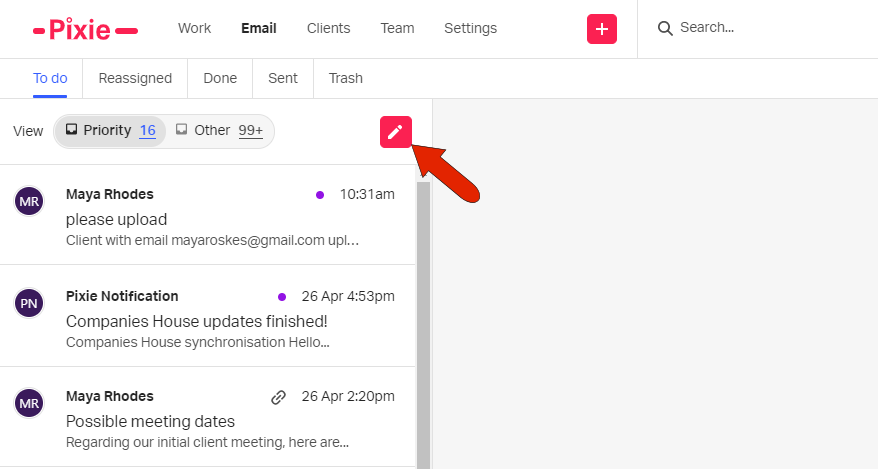
From your Email list, you can click the New Email icon.
While in a client’s details page, you can click the Send new email icon at the top right.

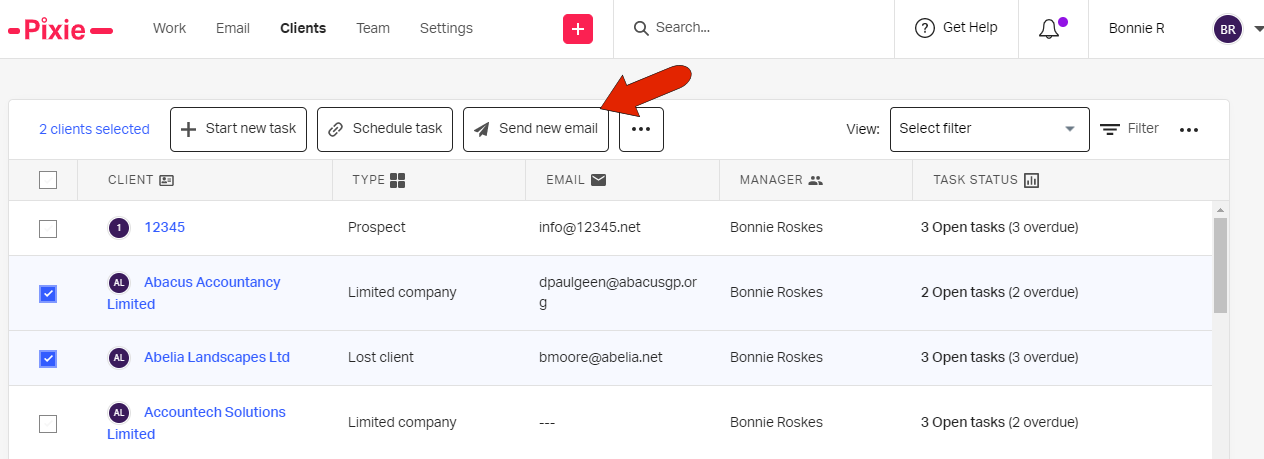
You can also open your client list, select one or more clients, and click Send new email at the top. (To narrow the list to only a specific type of client, you can apply a client filter.)
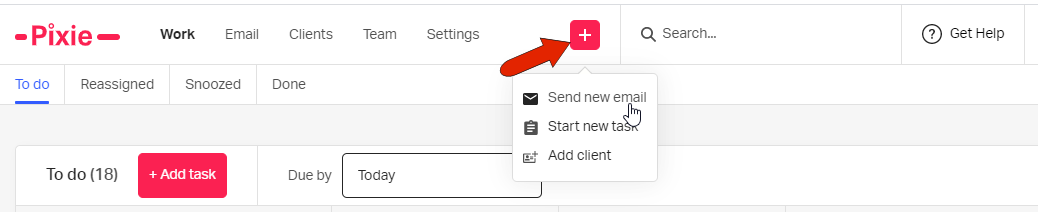
Or, from any Pixie screen, you can click the Add icon at the top, and choose Send new email.
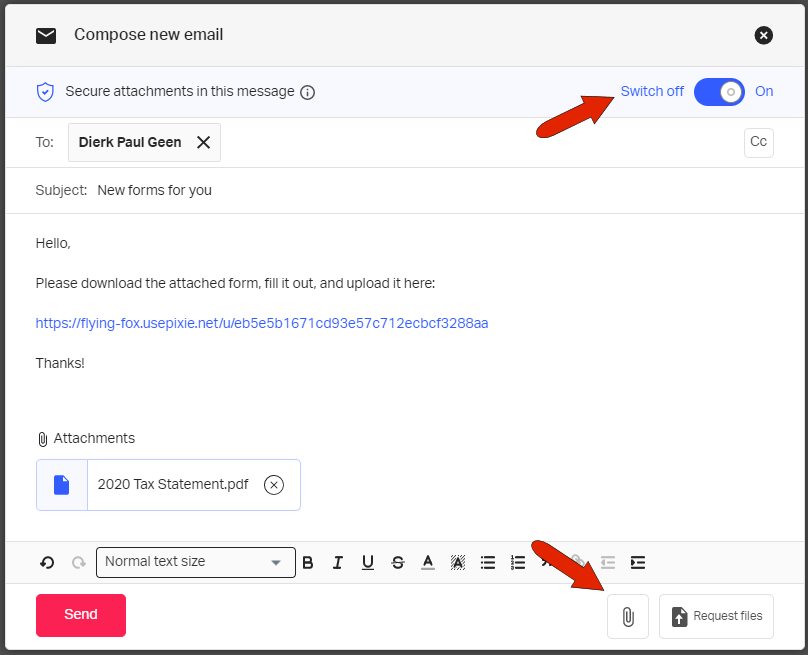
To attach files, use the Attachment icon at the bottom, and if needed, enable the Secure attachments slider at the top. If the client is to upload a form, click Request files at the bottom, which inserts the URL to the customer’s secure portal.
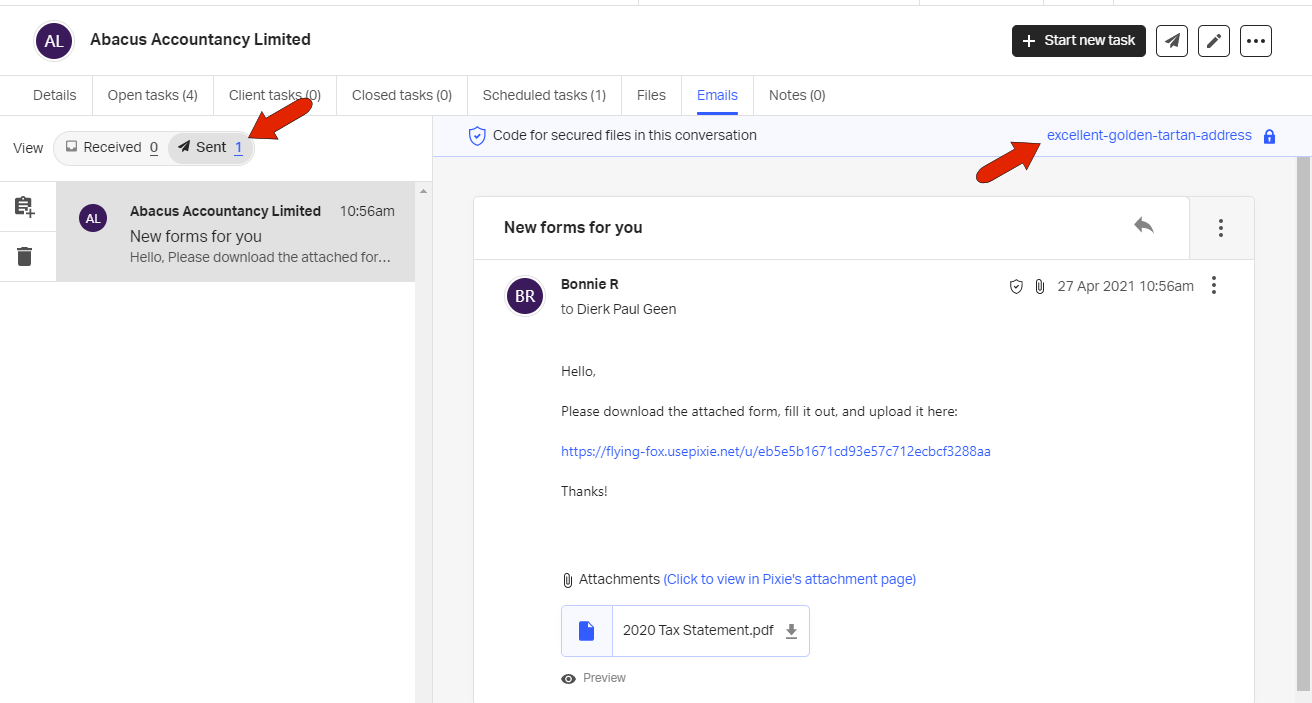
All sent emails will appear in the client’s Emails tab, in the Sent folder. If the client needs the passphrase to access secure files, that can be found here as well.
See also:
