This article discusses how to add a client manually, but clients can also be imported from a spreadsheet, or imported from Companies House (UK companies only). You can also add a client from an email.
To add a new client manually, click Clients at the top, then click Add client.
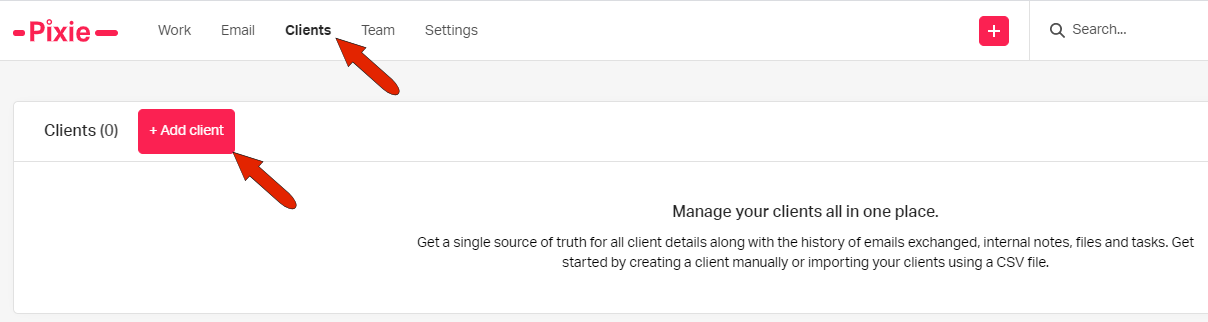
Or, from any Pixie screen, you can click the Add icon at the top and choose Add client.

There are three steps for setting up a client: client details, custom fields, and client contacts.
The Client Details step includes basic contact details. The options for Client type are configured by a workspace admin, and you’ll need to choose the Client manager from your list of team members.
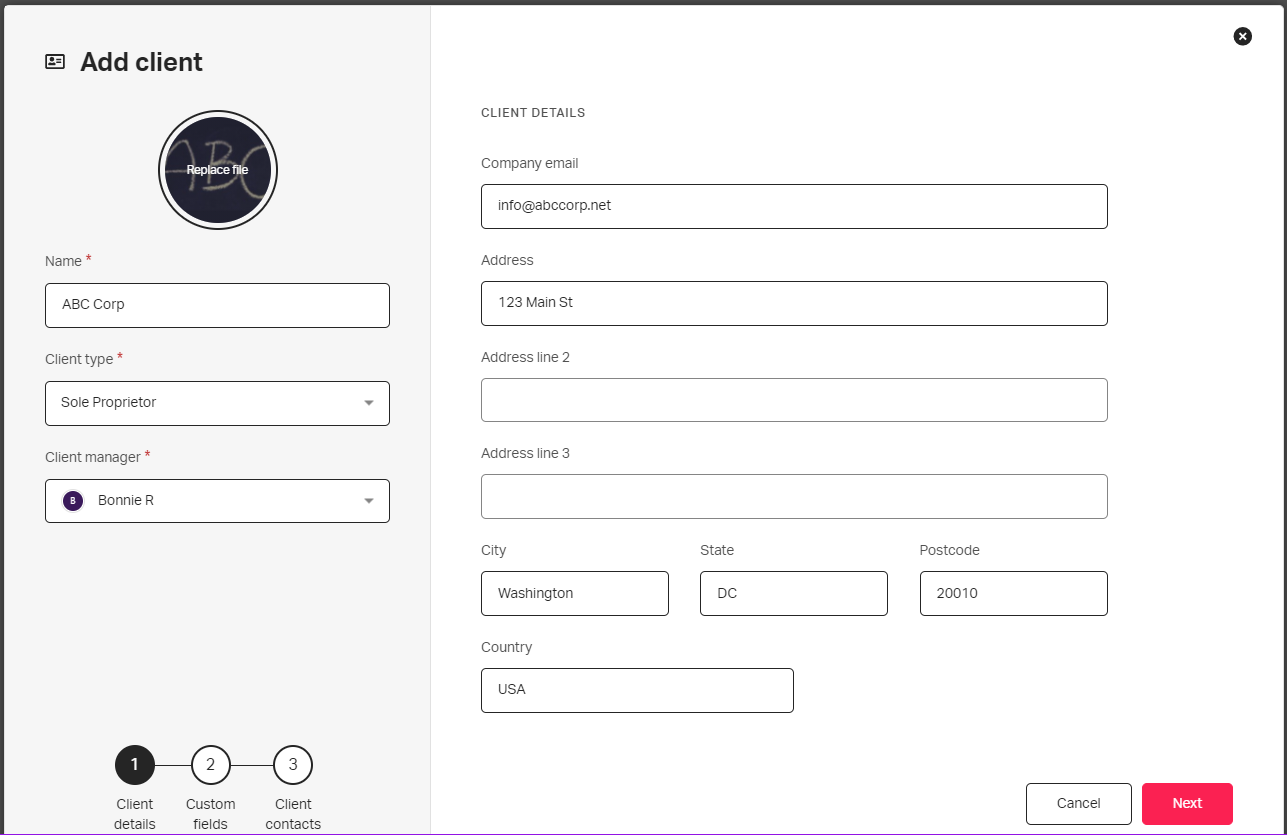
If the client will not have contacts set up, the Company email listed on this page will be used for all correspondence.
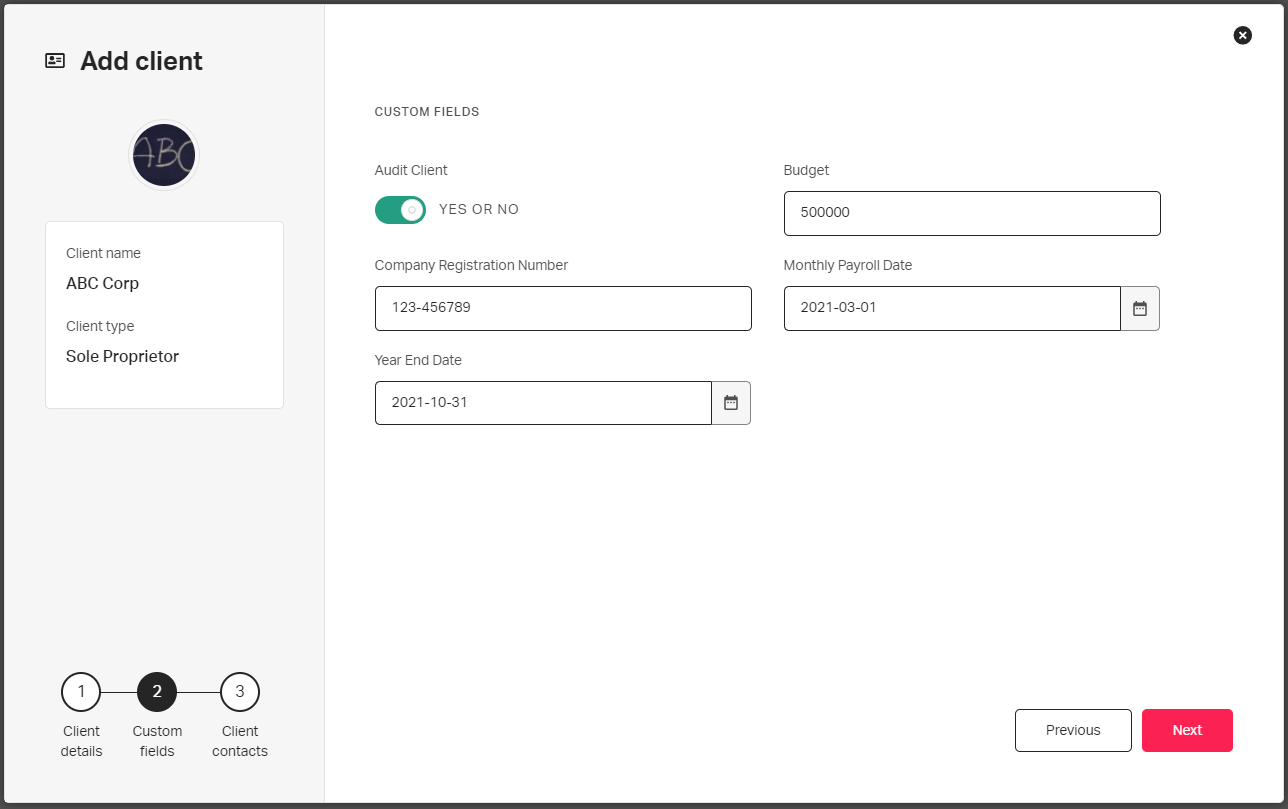
In the second step, fill out custom client fields; these fields are configured by a workspace admin. If the client is new, you'll probably only be able to fill out a minimal number of custom fields, but you can always complete these fields later when editing the client.
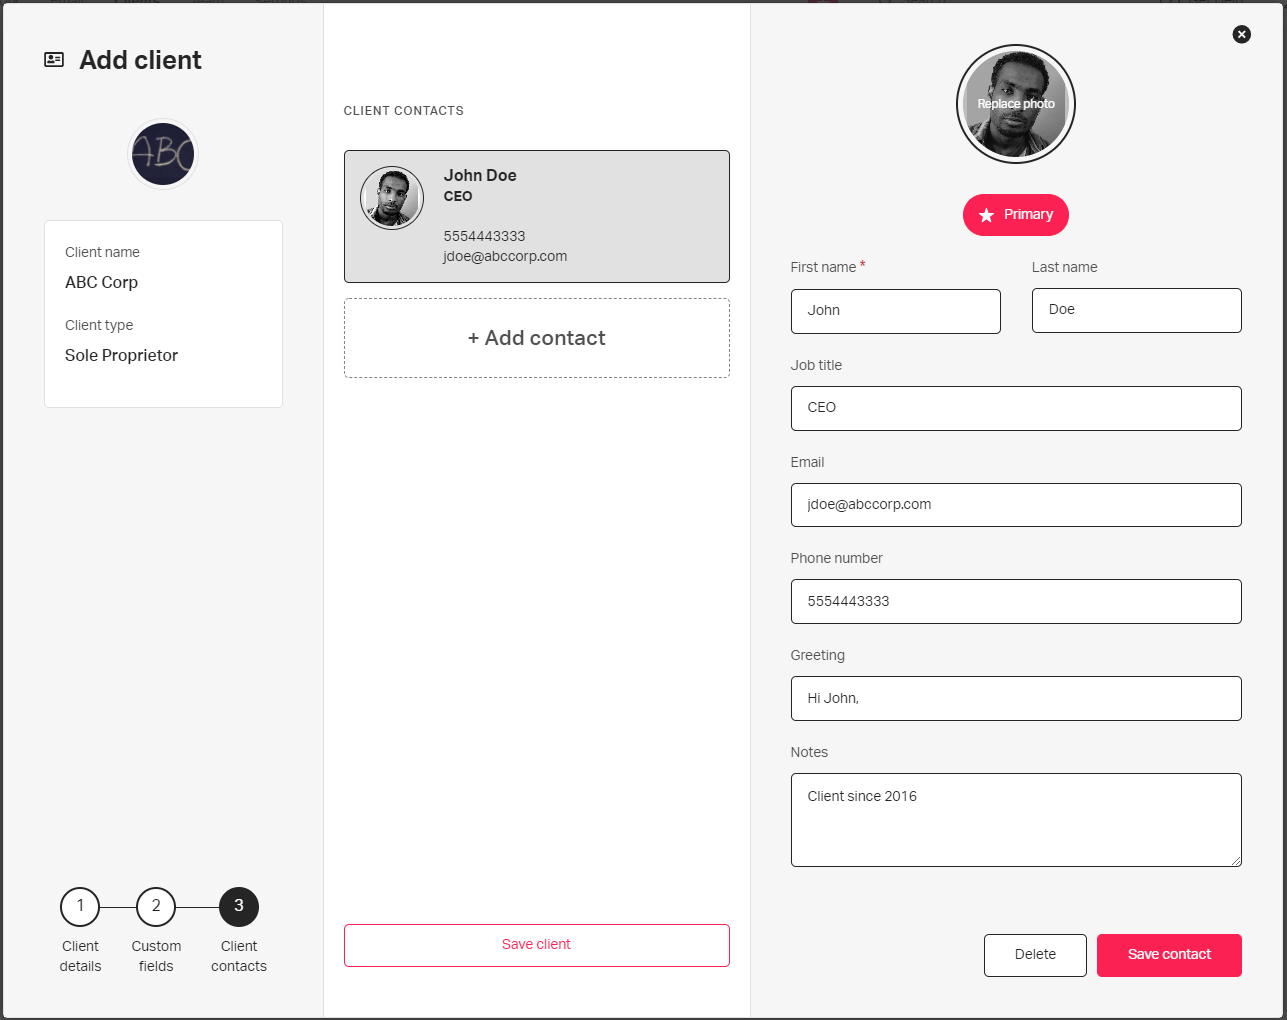
The last step, which is optional, is to define client contacts. If you choose not to add contacts, all emails related to this client will go to the company email listed in the Add client step. You can also add contacts to this client later.
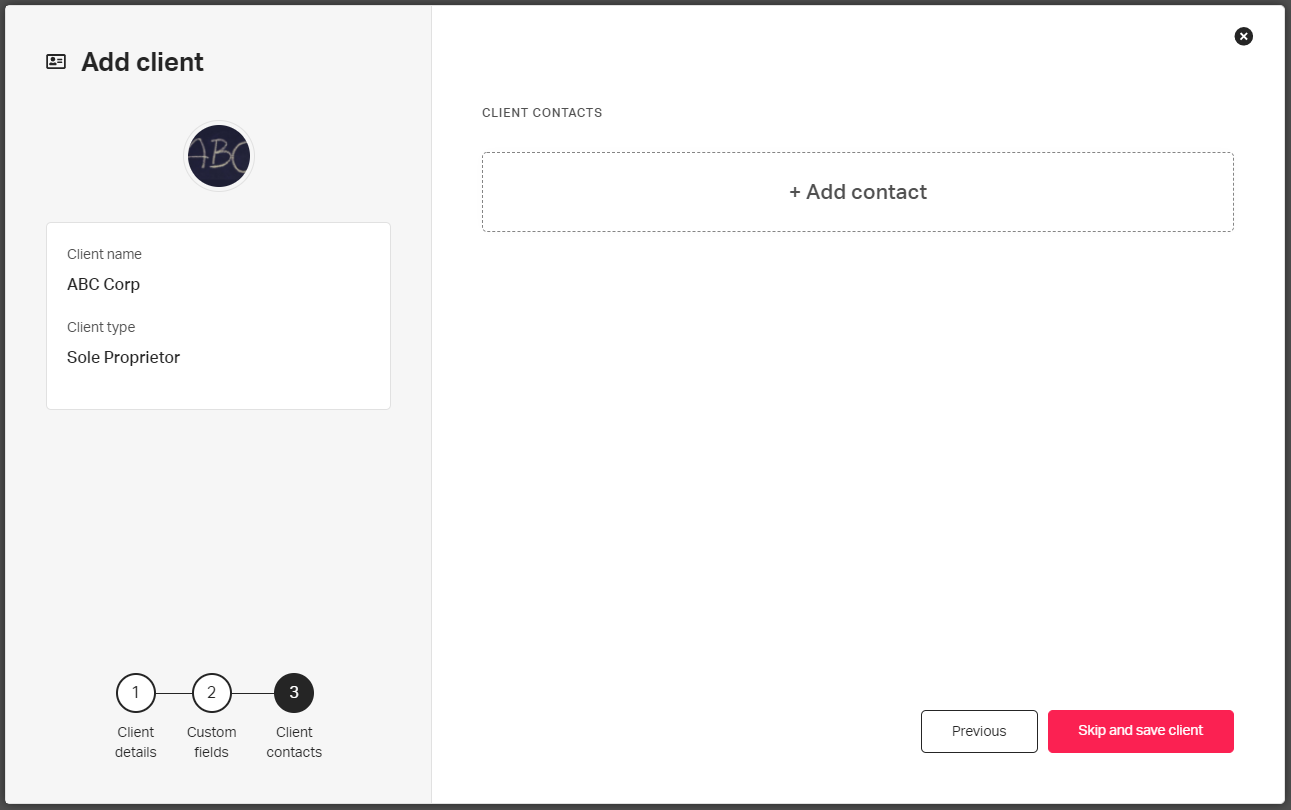
Fill in details for the first contact. When the Primary button is enabled, the email for this contact will be the default email for all client-related emails.
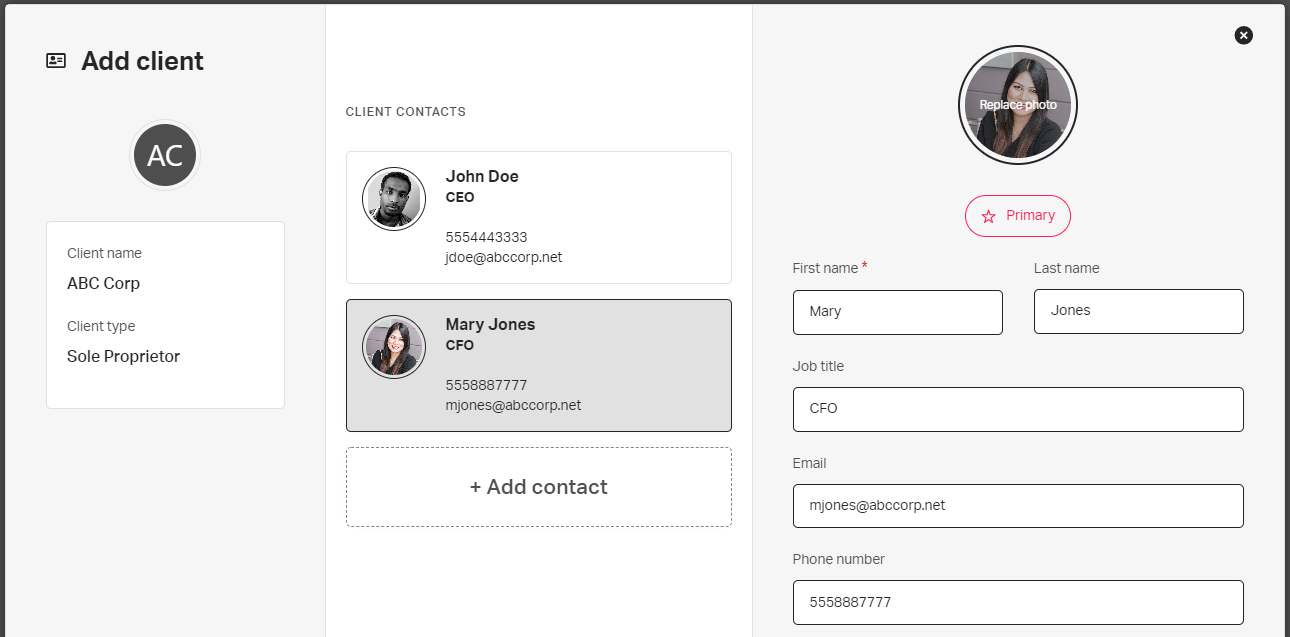
You can use the Add contact button to add any many contacts as needed for the client.
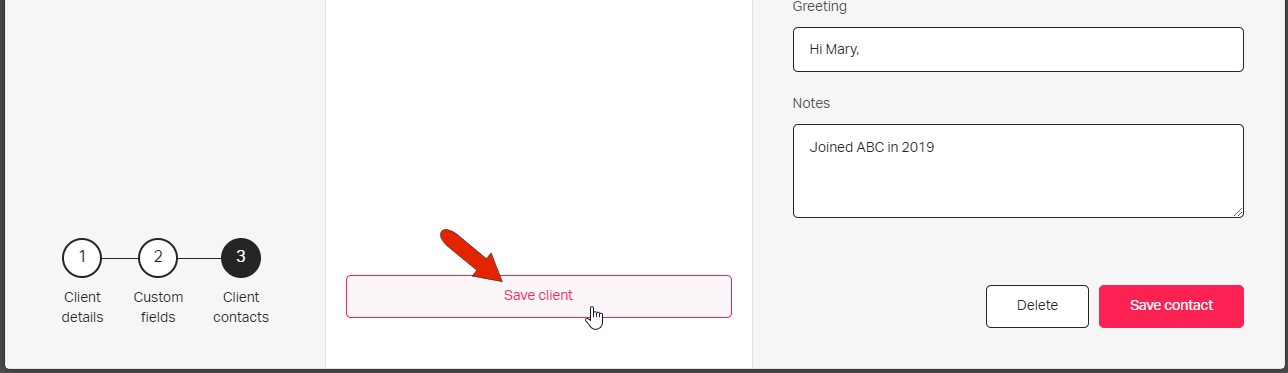
Be sure to click Save client at the bottom of the window.
Once complete, the client details appear in the workspace.

See also:
