You can add client contacts during the process of adding a client, or you can add contacts after the client has been created.
To add a contact, start in your client list and click the name of the client to which you want to add a contact.

Or from any Pixie screen, you can use the search field at the top to locate a client by name or contact email.

If you want to edit an existing contact, you can also use the search field to locate the contact, then click the contact name.

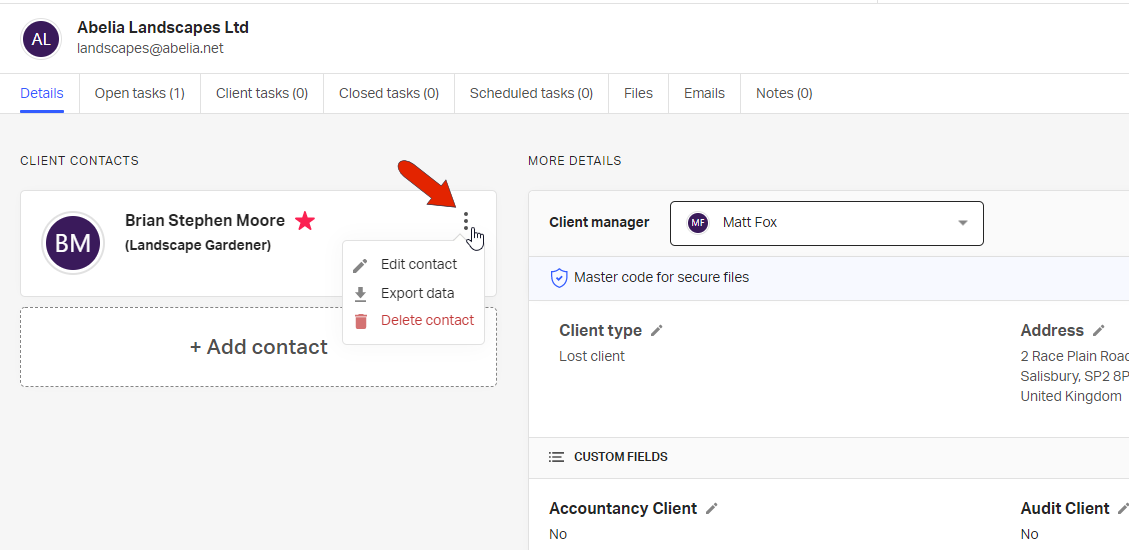
This opens the client details page, open to the Details tab. Any existing client contacts will be listed, and you can add new contacts. If a contact has a star icon, that means the person is the primary contact for the client.

For any contact, you can use the three-dot icon to edit, export, or delete the contact.
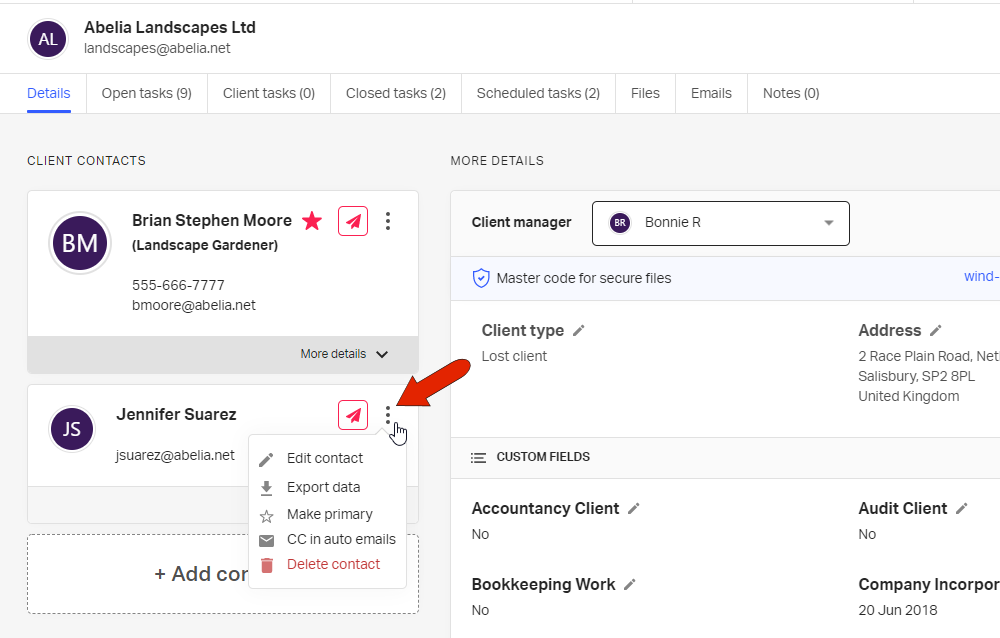
If a client has more than one contact, clicking the three-dot icon for a non-primary contact displays options to make the contact primary, and to add this contact as a CC in any automated emails.
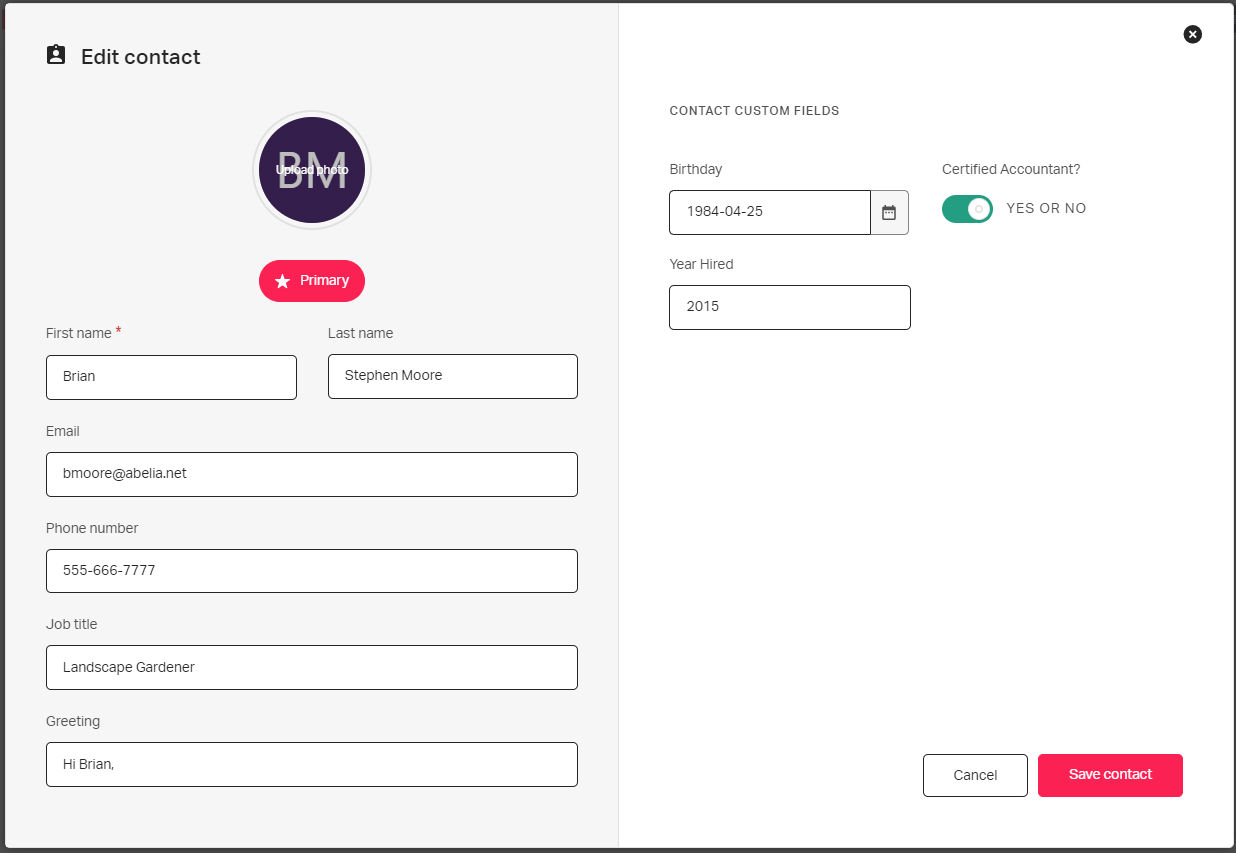
When editing a contact, standard contact details can be entered on the left, including a head shot, and you can enable the Primary button. On the right are any custom contact fields configured by the workspace admin.
See also:
