For workspace admins only
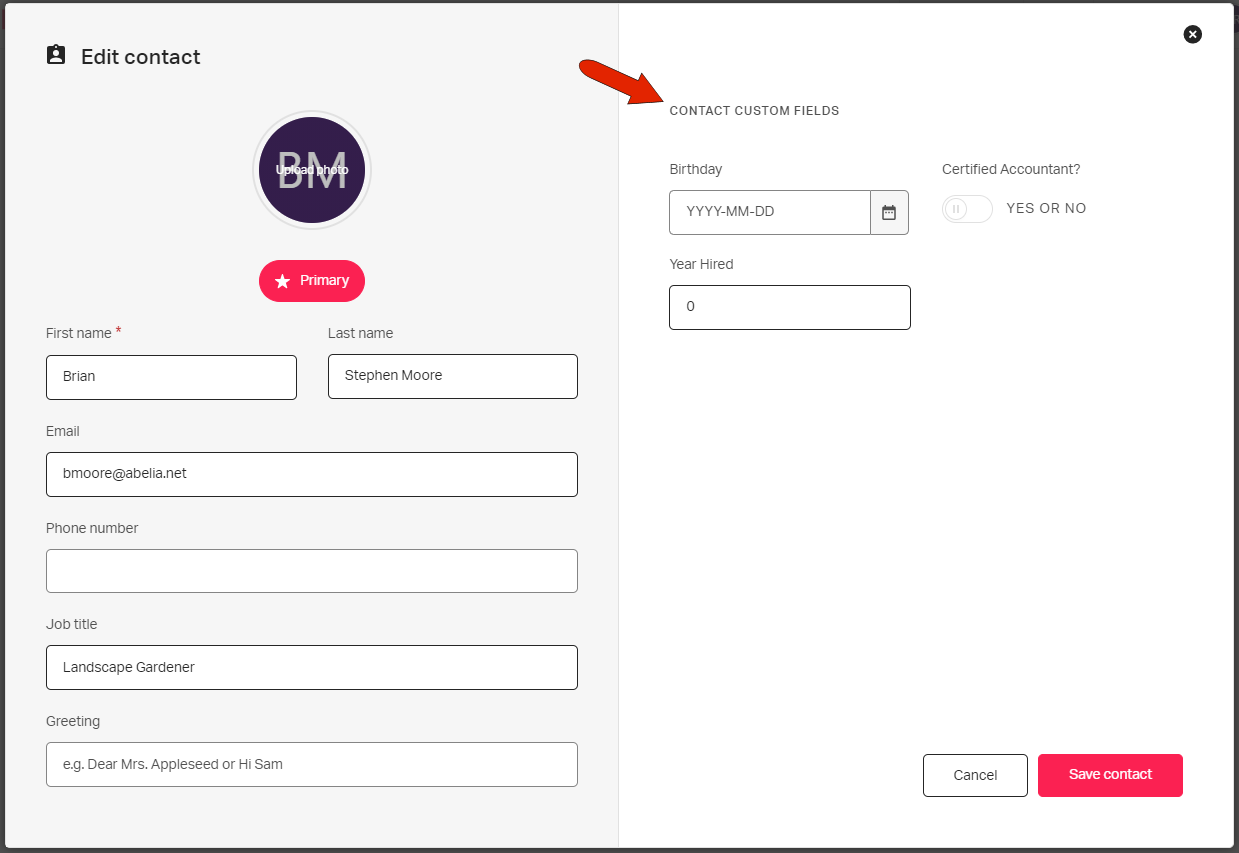
When setting up or editing client contacts, if custom contact fields have been created, they will appear on the right.
To configure contact fields, click Settings across the top, and open the Contact fields tab. You can add as many fields as you need on this page. Each contact field has a field type: Text, Number, Date, or Yes/No. You can also decide whether each field should be required when setting up clients.
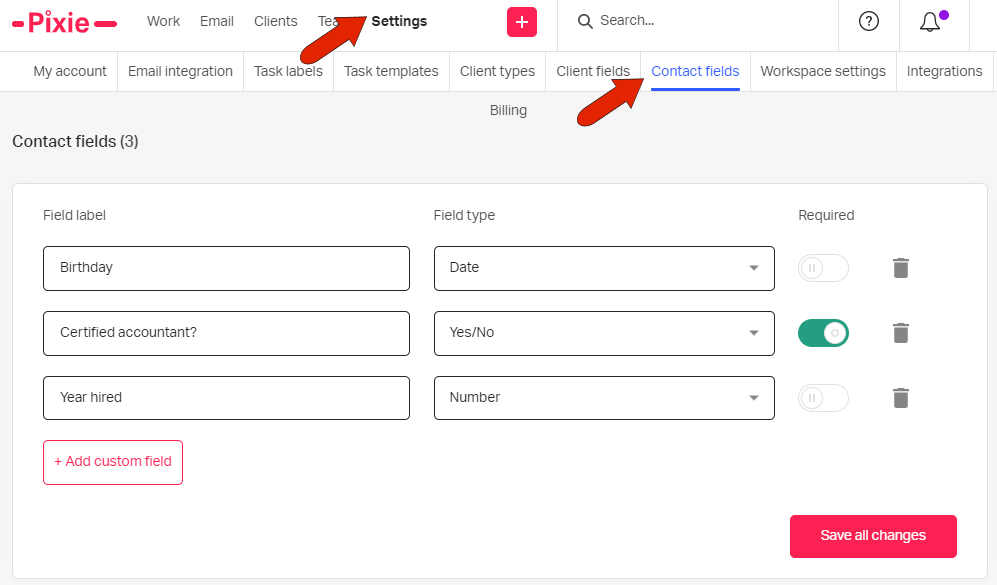
Tip: Contact fields are listed in alphabetical order. If you want your contact fields to appear in a specific order, we recommend numbering them.
Be sure click Save all changes.
Note that contact fields can be deleted, though you can’t delete contact fields that are in use.
