The new custom task status field helps you manage tasks more efficiently by separating task statuses from tags. This makes tracking progress more structured and visually clear.
Setting up Task Statuses
To start adding task status, go to your workspace Settings and open the Statuses tab. From there, you can create new statuses or update existing ones as shown. The default statuses are Not started, In progress and Done, as shown. To make each status easily identifiable, you can assign them all custom colours to your liking. Additionally, you can re-order and rename statuses (except for not started and done) to better suit your needs. Lastly, you can delete statuses; however, only if they are not in use. If a status is in use, you’ll be prompted to update and remove the status from linked tasks before deletion.

Using Task Statuses
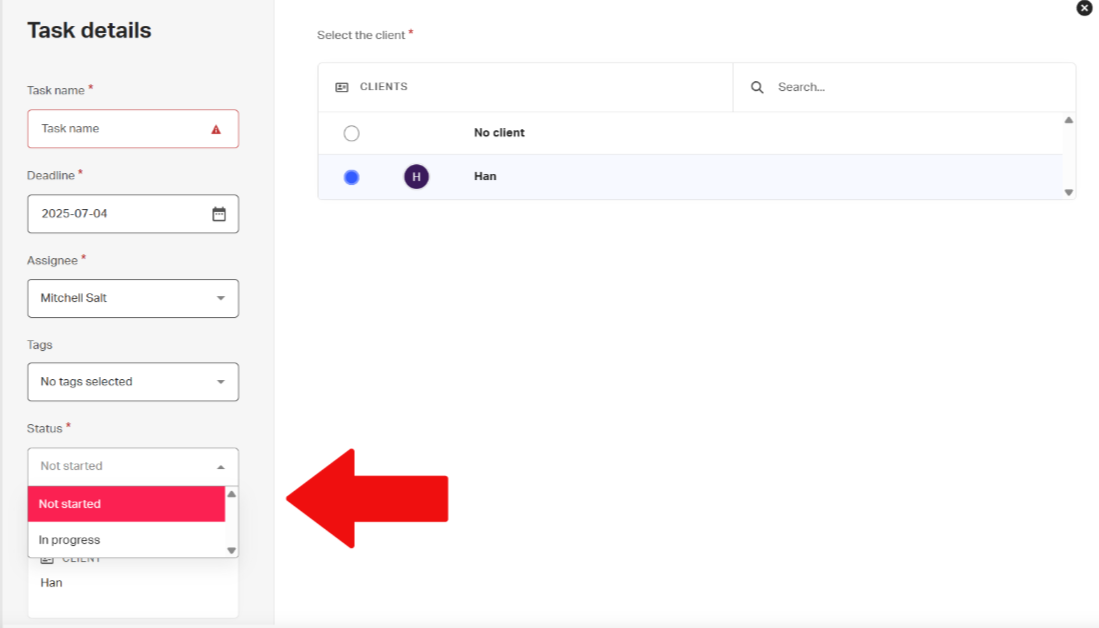
When creating or editing a task, you can select a status from the dropdown as shown below. Additionally, you can do this in task templates to have them set for recurring tasks, and you can see task statuses in the Work to do list for quicker visibility, making managing them much more efficient. For more efficient searching and filtering, you can use task statuses to filter tasks or client lists and from there create saved views based on specific statuses for easy access.
Tips for Effective Use
Finally, we are covering tips for effective use so that you get the most out of task statuses. The best way to get value out of task statuses is to have them quickly recognisable. For example, you can do this through colour association, so anything green means that you are waiting for a client, yellow means it’s being worked on and much more. In addition to making them quickly recognisable, we advise choosing a nice and concise name like “Waiting on client” to help you quickly recognise what that status means. Lastly, the most important tip to get value out of task statuses is to make sure you keep them updated to keep your workflow relevant.
