You can also add signature requests to client tasks.
For full details on setting up a client task, please see here.
When adding a signature request to a client task, you will first need to find a task belonging to the client you'd like to create a task for. Next, click on the name of the task to go to the task details.

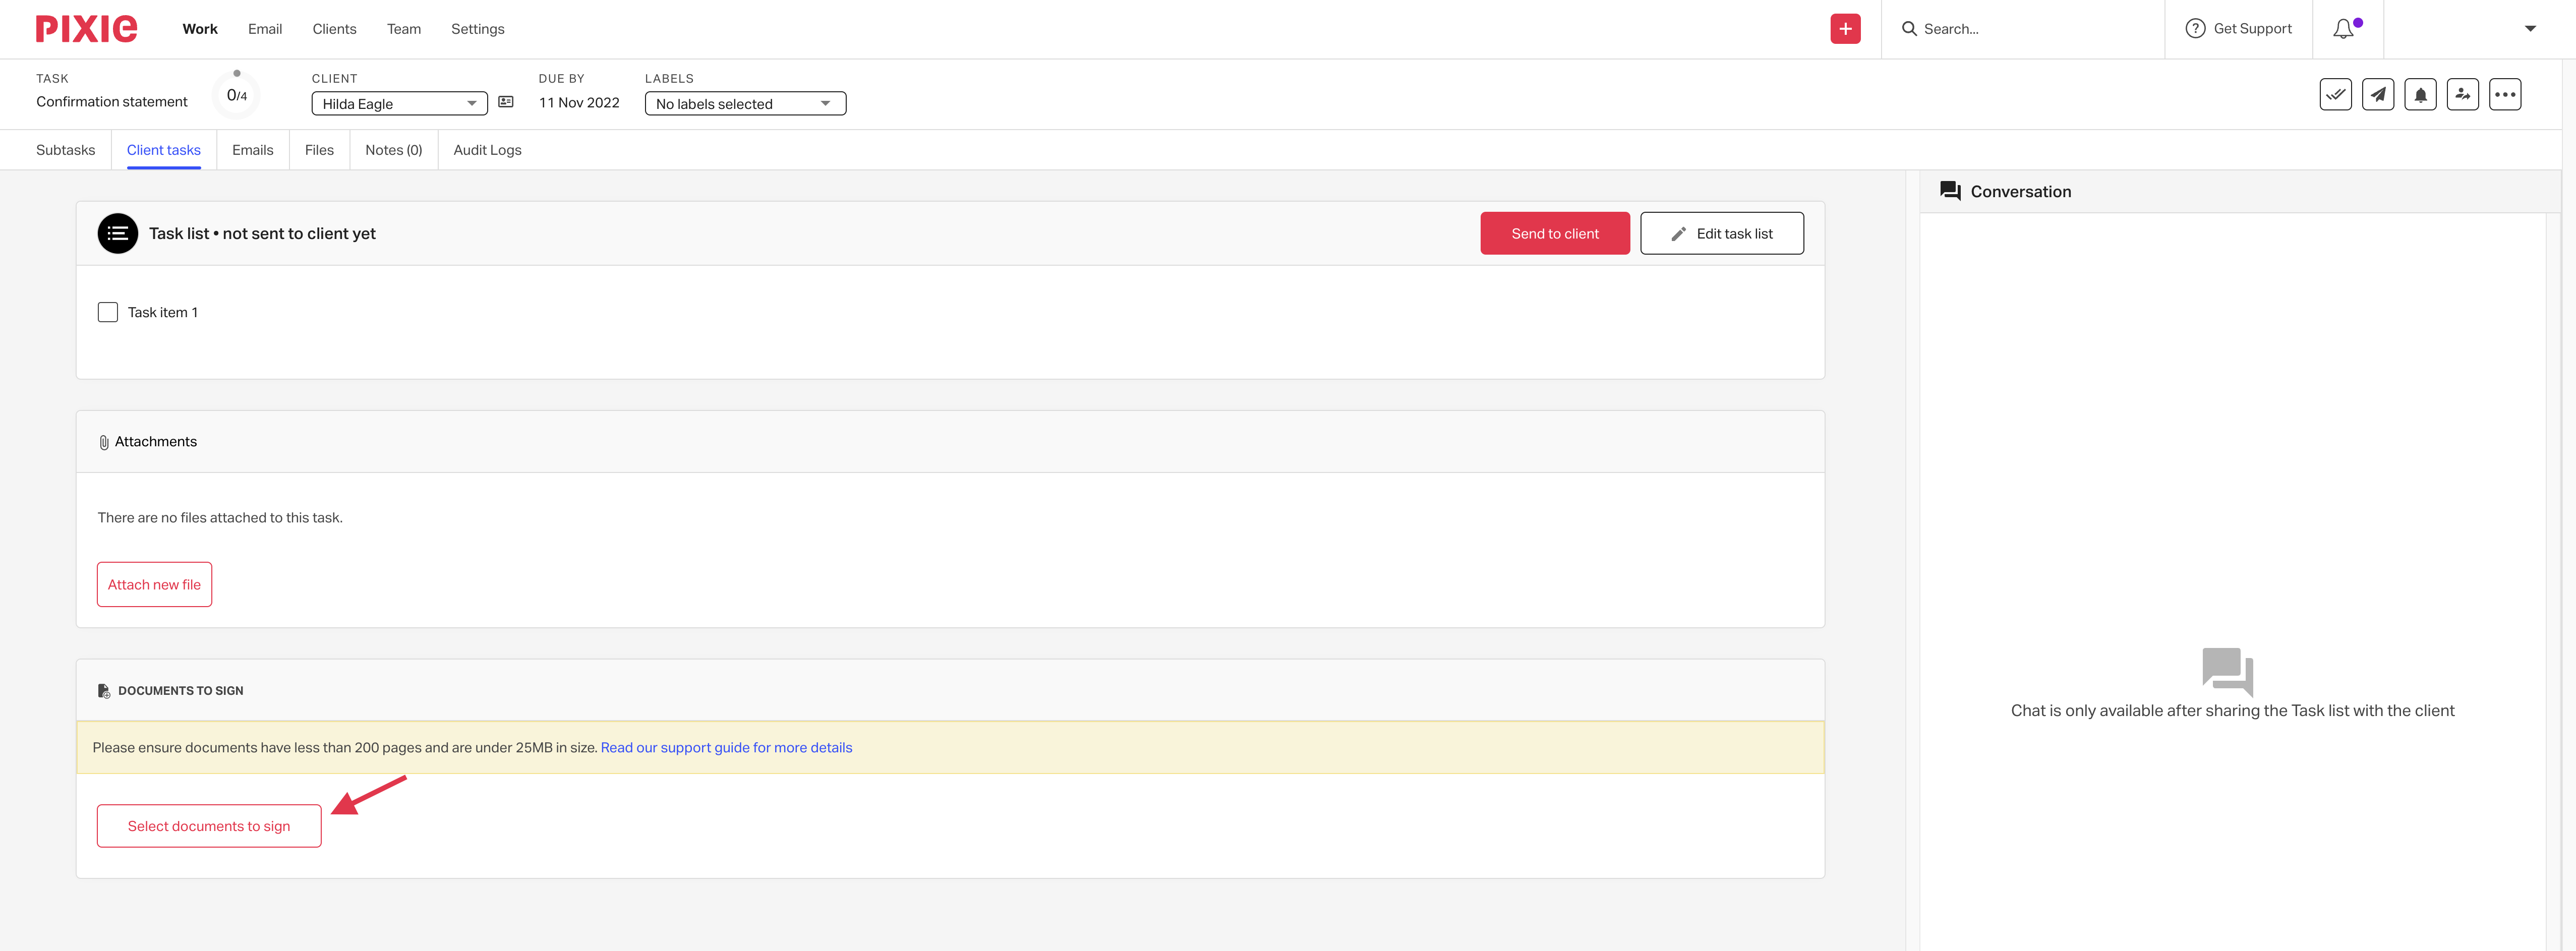
From here, click Client tasks; this will take you to the client task creation page.

On this page, you can create a list of actions for your client to carry out, attach any files, and/or send a signature request.
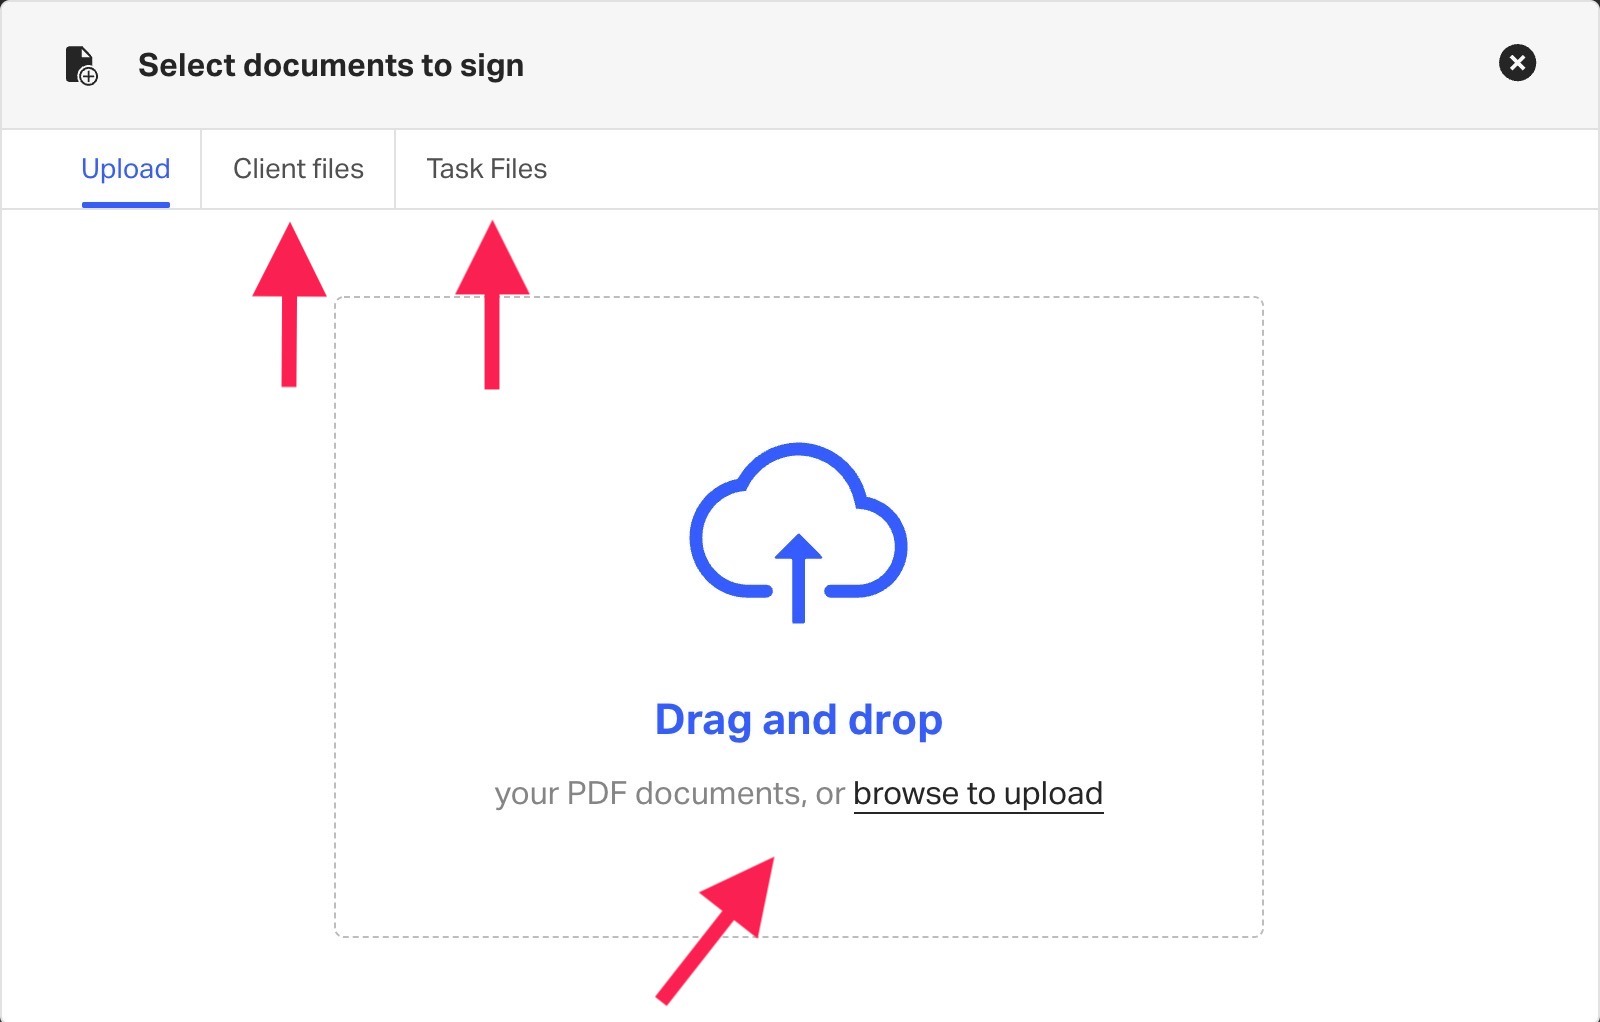
After clicking Select documents to sign, you're able to Upload a new file for your client to sign or use one from the Client files or Task files.
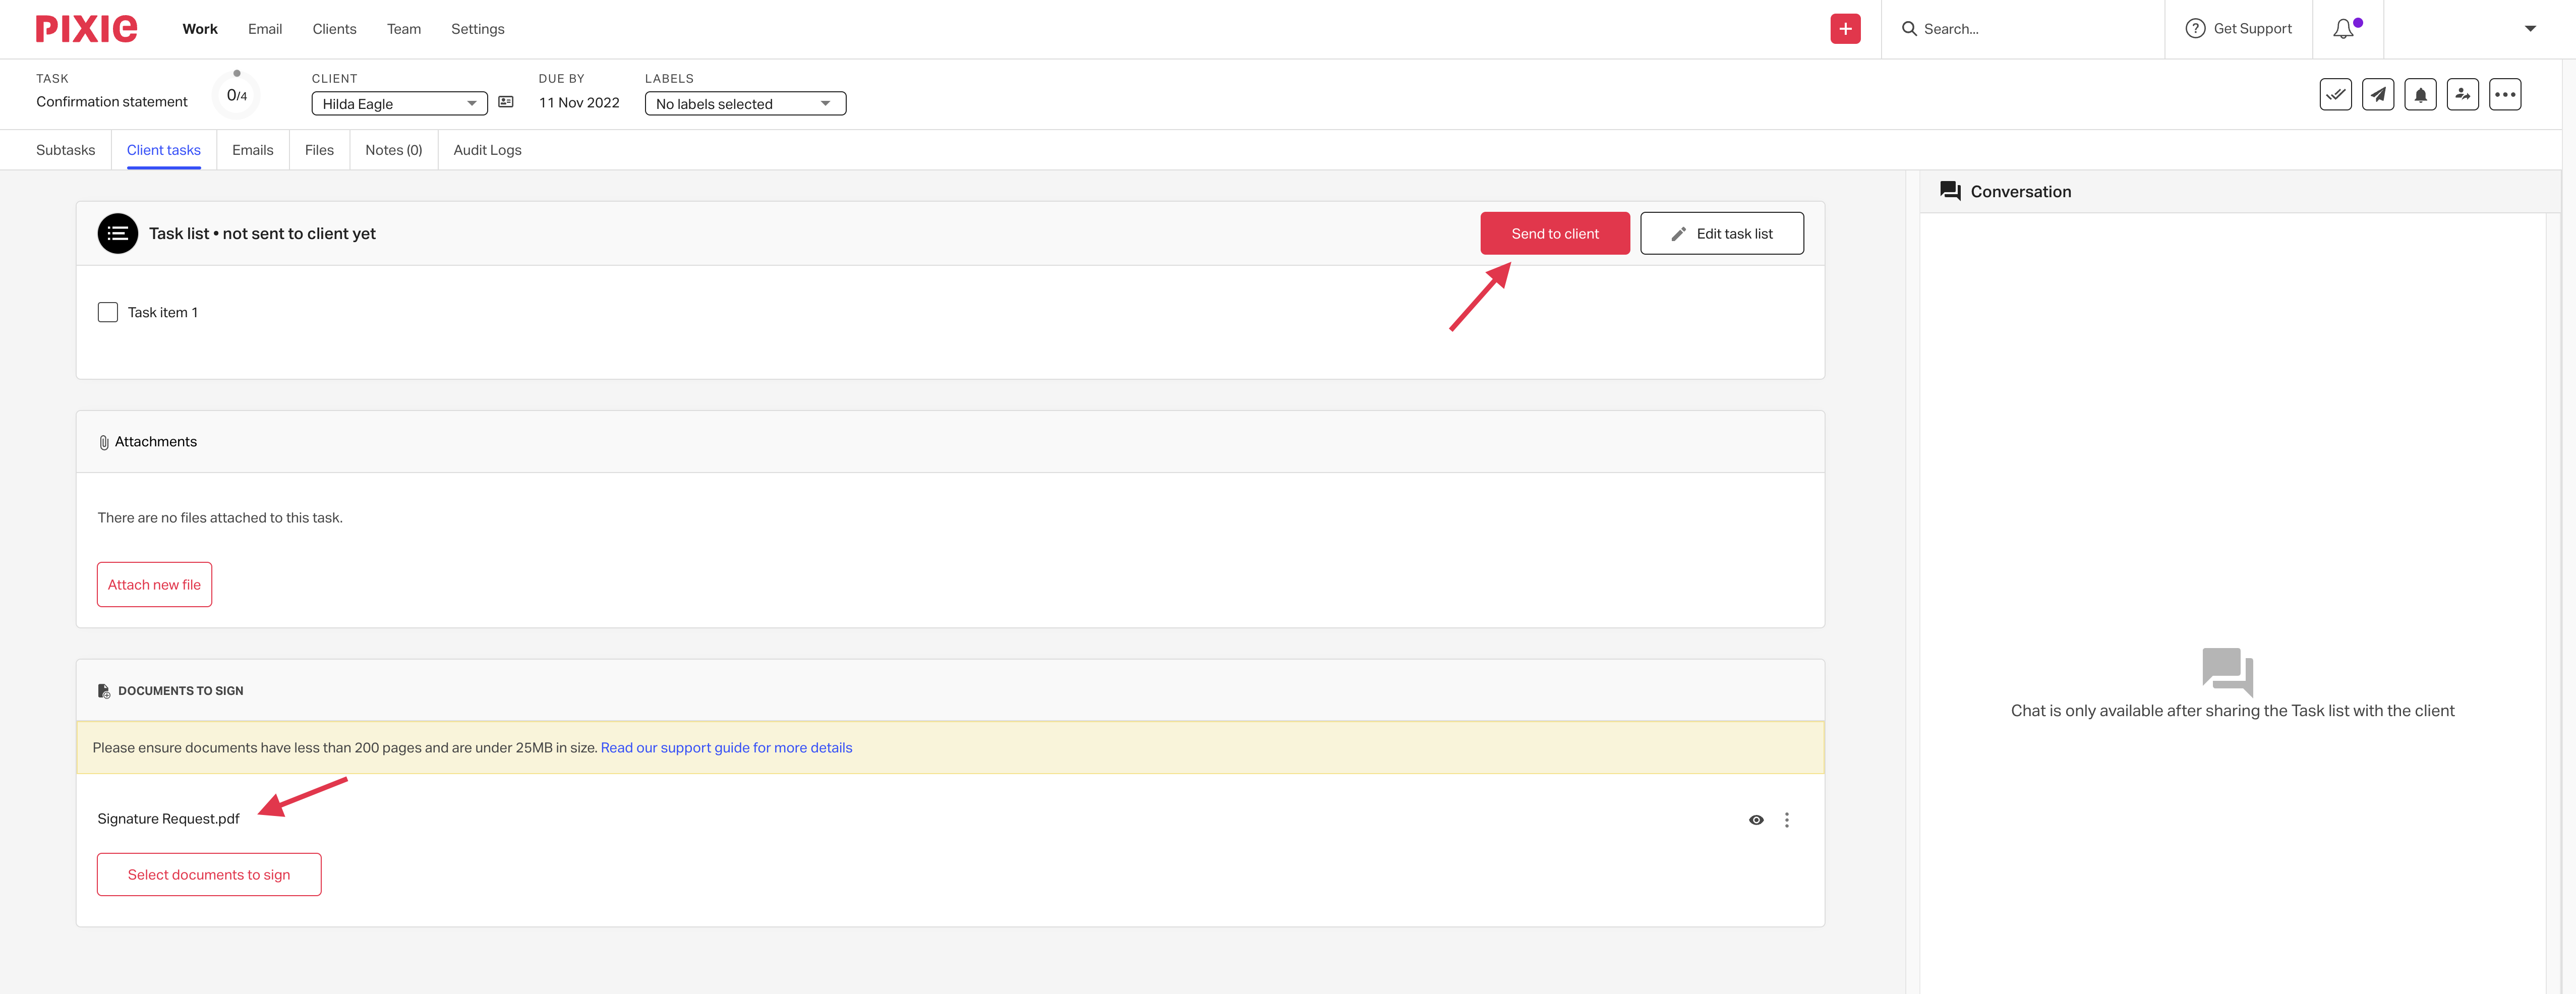
Once your document has successfully uploaded, you will see it under the Documents to sign section.
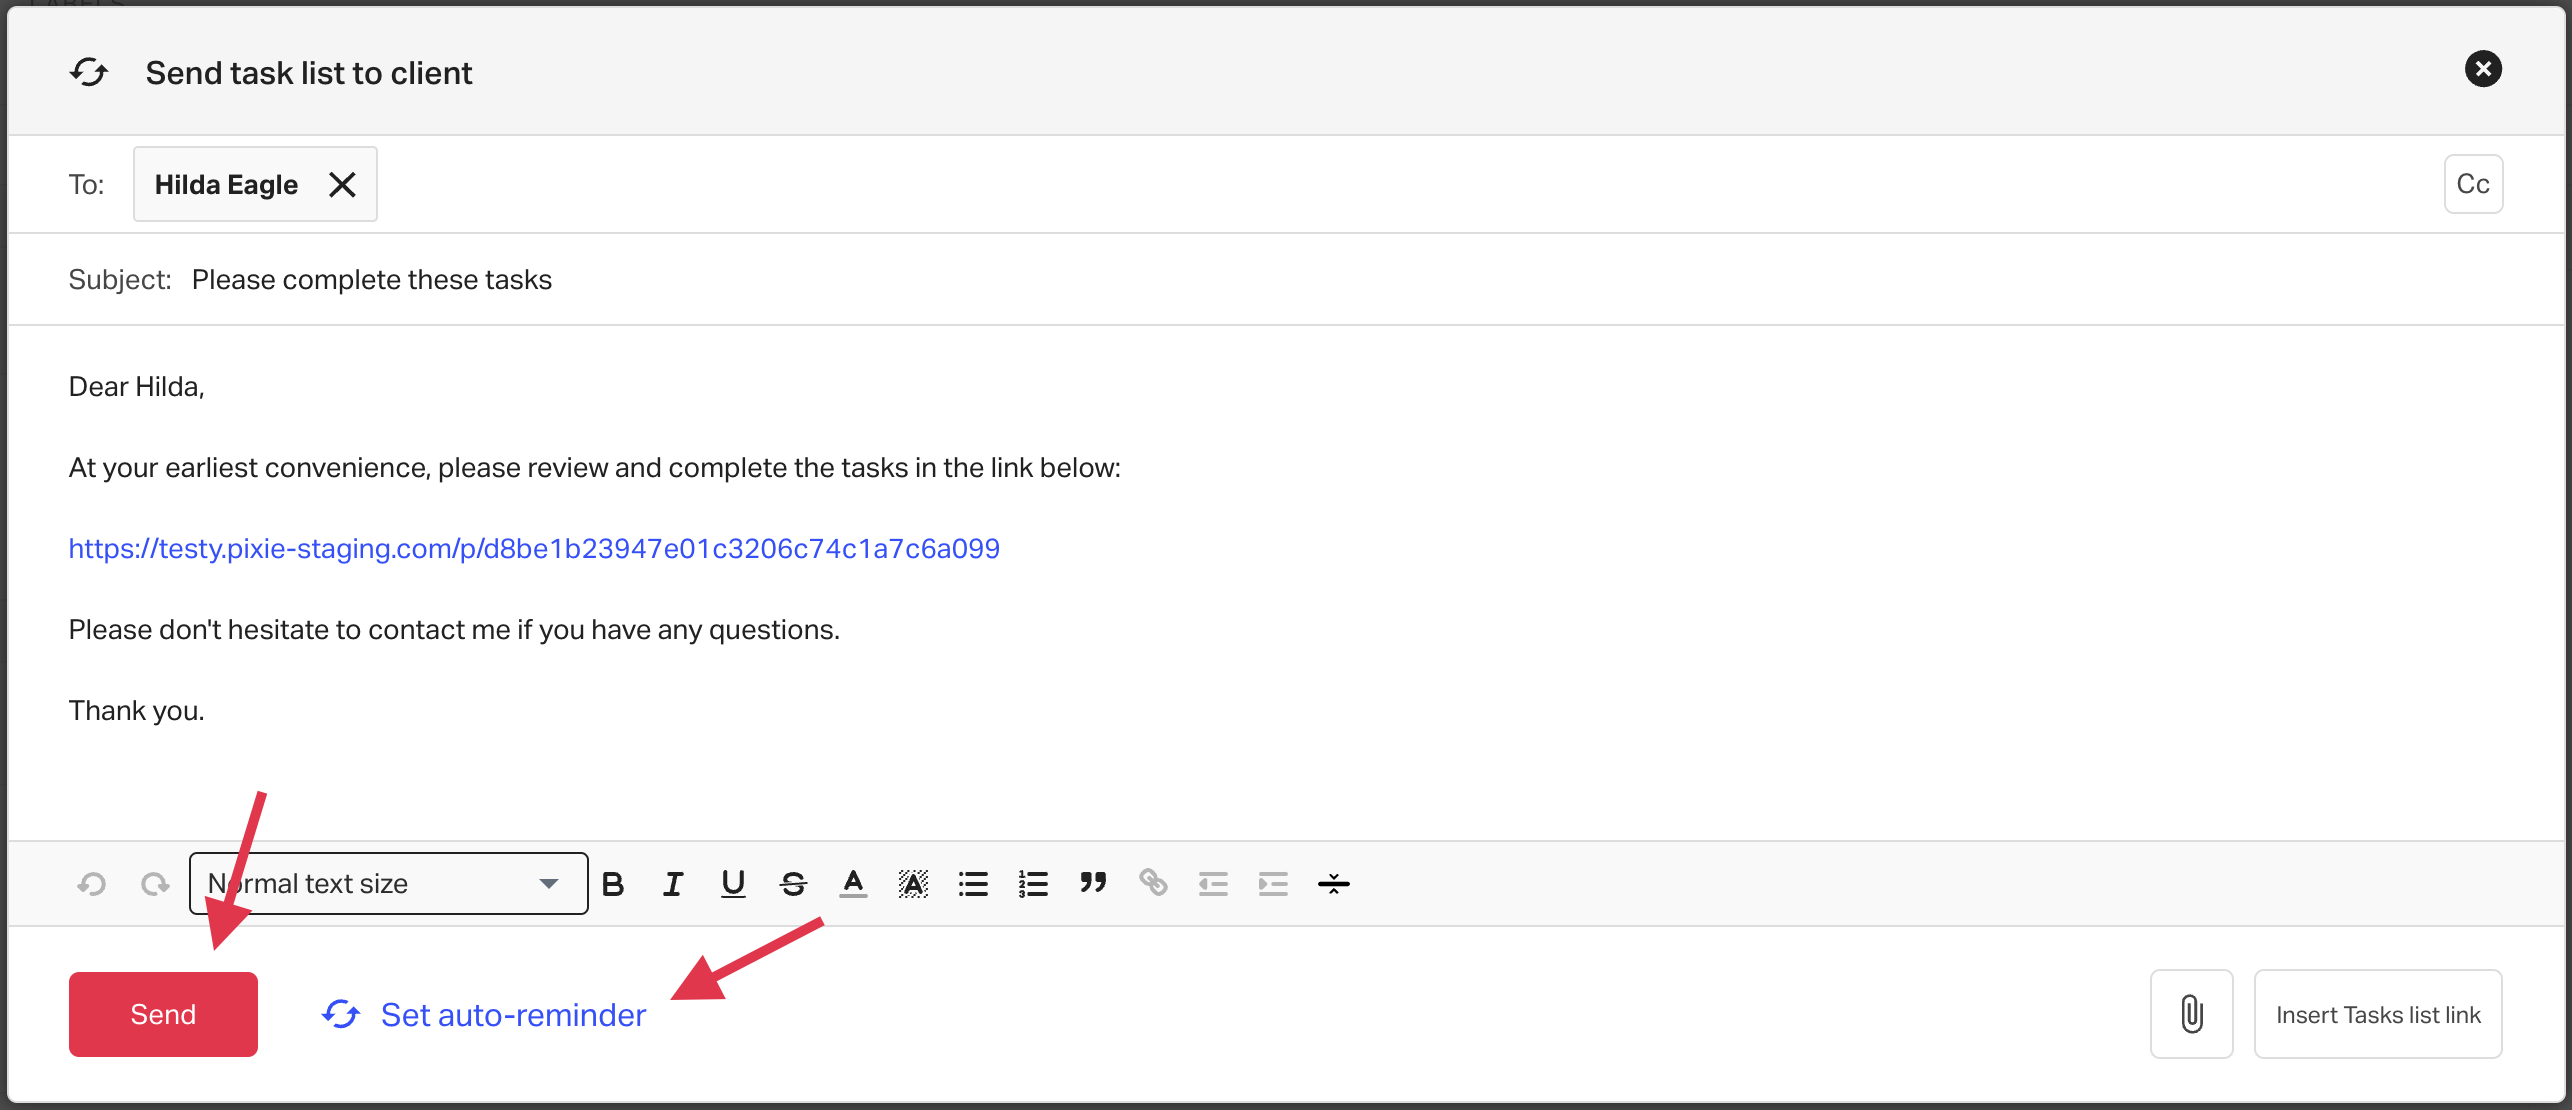
When you are happy with the client task, you will need to send it to the client to review and carry out the action[s] in the task. To do this, click Send to client.
Once you've selected Send to client, Pixie will prompt you to fill in an email to send along with the client task link, here you can also configure auto-reminders. When you are ready, click Send, and Pixie will send the task list to your client ready for them to complete.