Many Pixie users rely on Zapier automations to keep client and task data in sync across multiple apps, such as Slack and Salesforce.
To integrate Zapier with Pixie, you'll need a Pixie API key and account. To find these in Pixie, click Settings across the top, choose Integrations, and open Zapier.
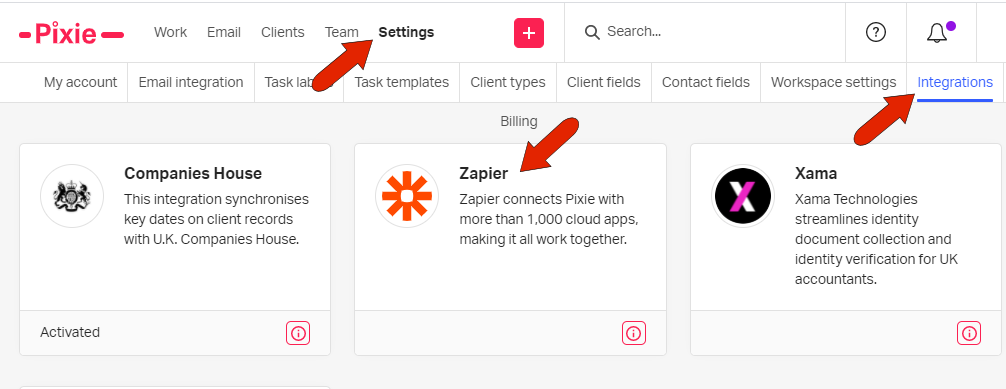
Your API key and account are listed in the window that opens - keep this page open for easy copying and pasting.

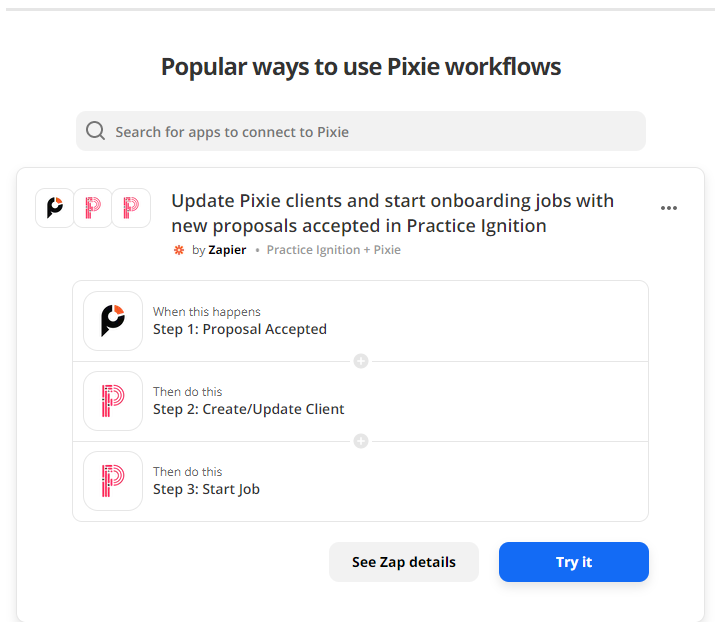
(The Browse Pixie automations for Zapier button on this window opens a Zapier page that lists several popular workflows you can explore.)
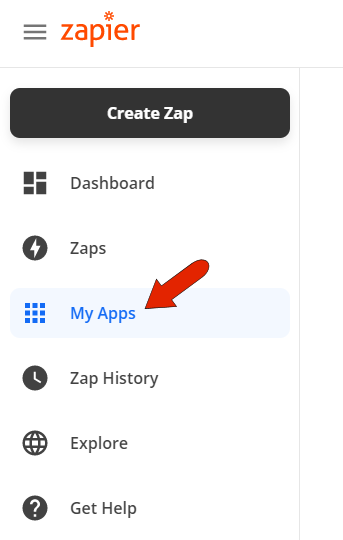
To complete the integration, go to your Zapier account and click My Apps along the left.
Click Add Connection.
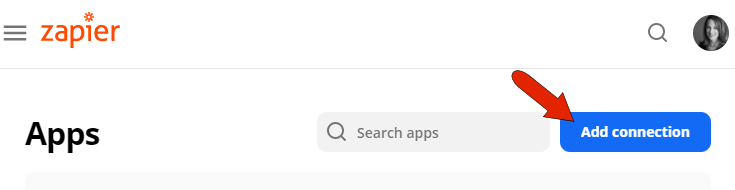
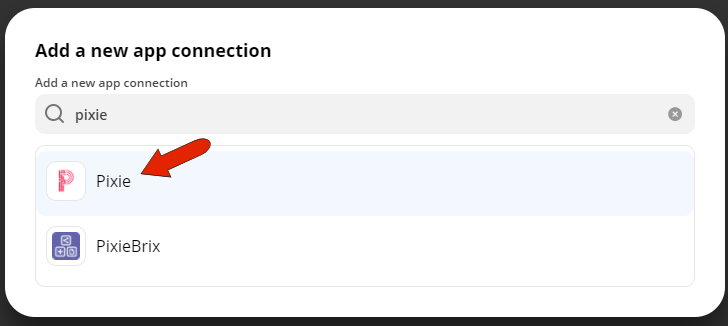
Browse the list of apps to find Pixie, or use the search field at the top. Click the Pixie app.
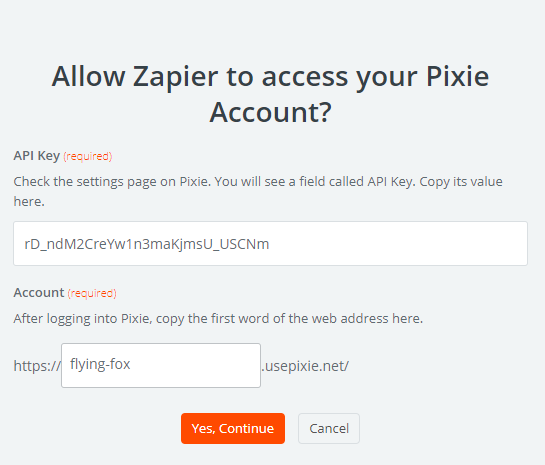
In the popup window, enter the API key and account name from the Pixie settings. Then click Yes, Continue.
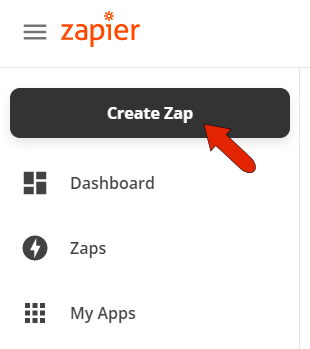
Once the integration is complete, you can click Create Zap to create an automation.
A Zap consists of a trigger and an action. A Zap can trigger something to occur in Pixie based on an event from another app, or can use a Pixie event to trigger an action in another app.
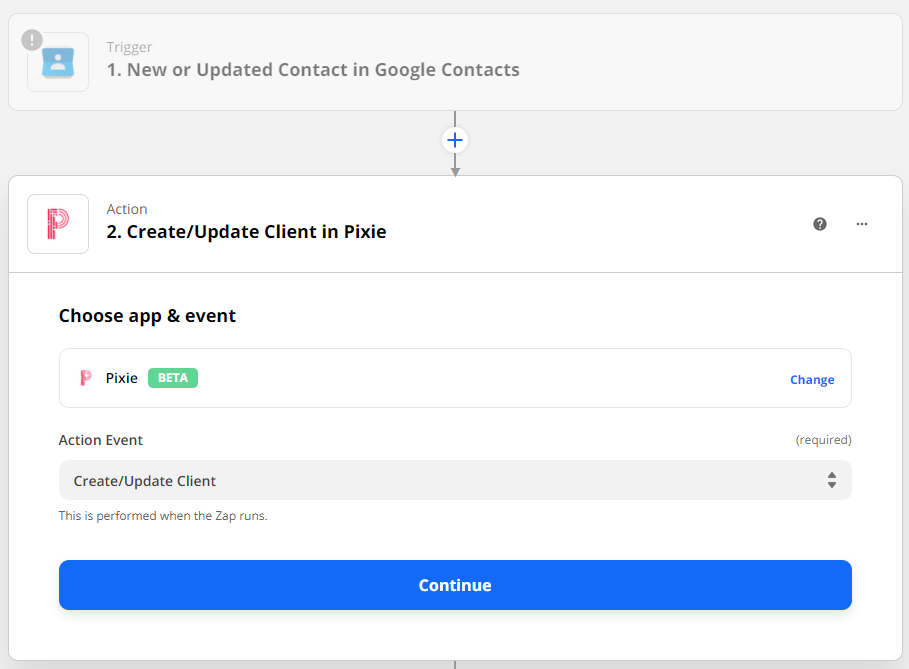
For example, the trigger can be adding or updating a contact in Google Contacts . . .
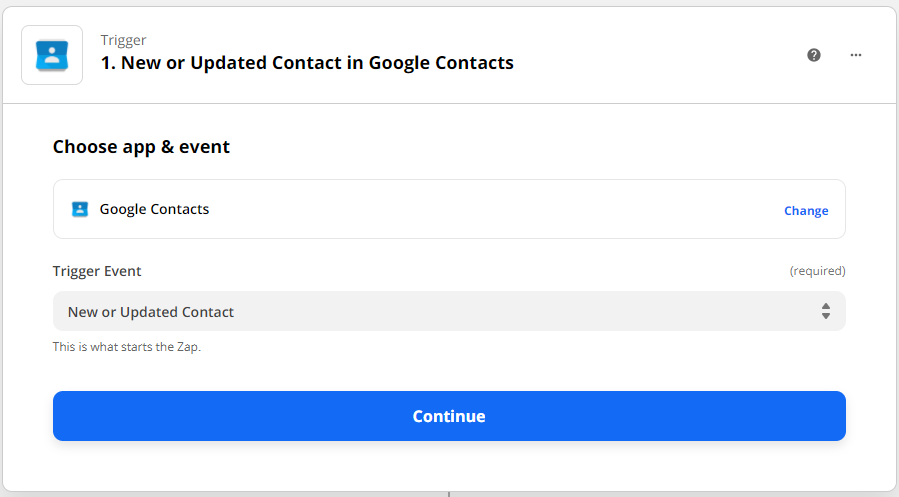
. . . which creates or updates the client in Pixie.
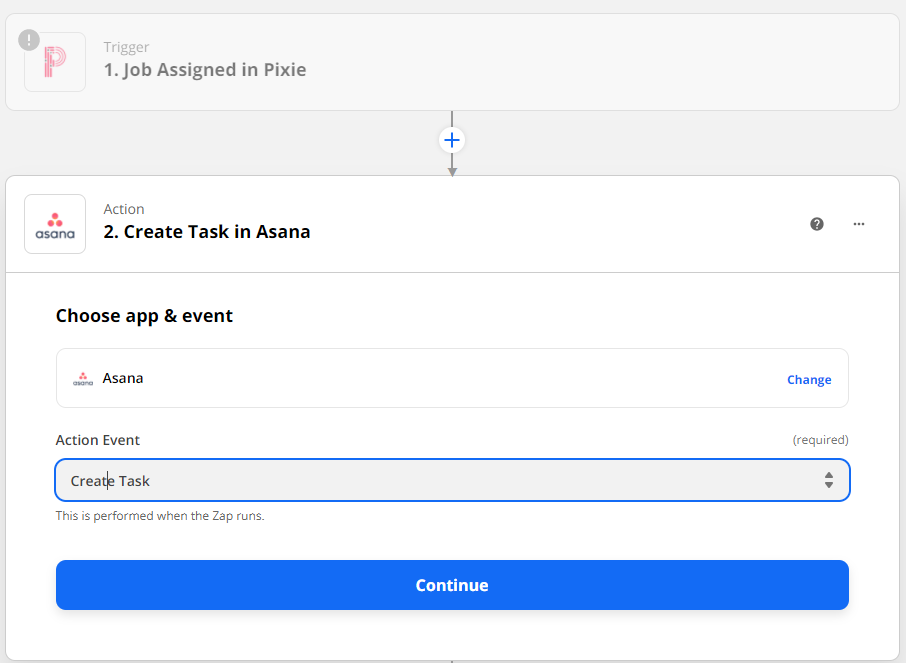
Or you can set up a Zap which is triggered when a job is assigned in Pixie . . .
. . . resulting in creation of a task in Asana.
Zaps can consists of one or more actions post-trigger. For some examples of common Zap - Pixie workflows, see this Zapier page.